There are a wide range of skins available across the web. If you find one you love and you want to use it in your game, here’s how to change your Minecraft skin on PC or mobile.
Where Can You Find Minecraft Skins?
If you want a custom Minecraft skin, you need to know where to look. There are several popular sites that give access to dozens or even hundreds of Minecraft skins free of charge.
The Skindex: Weird name aside, The Skindex has hundreds of different skins to choose from, as well as a robust search engine. You can also upload your own skins, as well as edit existing skins to suit your preferences.MinecraftSkins.net: MinecraftSkins.net is another repertoire of different skins. They are organized by type, so you can choose between TV, Movies, Games, People, Mobs, and more.PlanetMinecraft: PlanetMinecraft is a treasure trove of resources for Minecraft. It isn’t limited to just skins, but also maps and texture packs.
You can find almost any skin you can think of on these websites, but you can also make your own skin by following a basic pattern. Take the time to customize your character any way you like.
How to Change a Minecraft Skin on a PC
There are a few different ways to change your skin in Minecraft.
How to Change Skin Through Minecraft.net
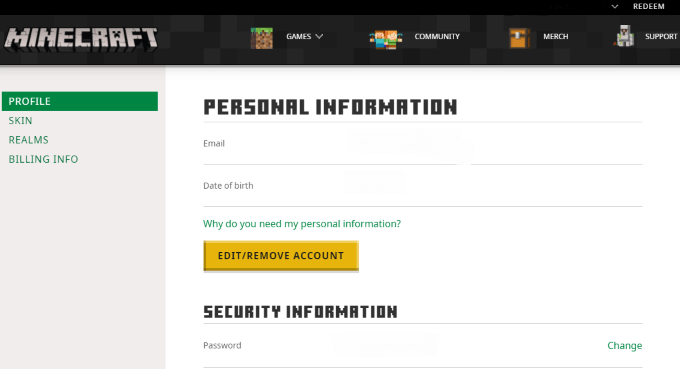
Once you find a skin, changing it is a simple task. First, go to Minecraft.net and log in to your account. Click Skins on the left side of the screen. You will be presented with two size options for your skin: a wider variant and a skinny version. Choose the one that best suits your character. After this, scroll down and click Select a File. Select the downloaded skin file you chose and then click Upload. Once you do this, your skin will show up as the new skin the next time you start up the game.
How to Change Skins Through Minecraft Launcher
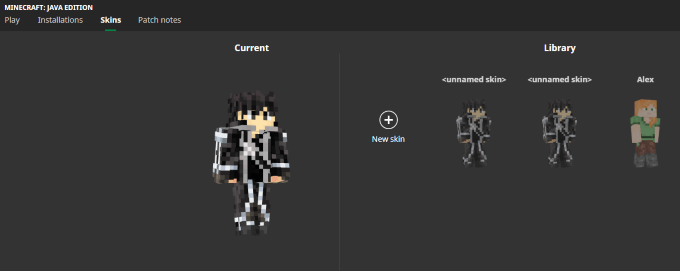
Another easy way to change skins is through the Minecraft launcher itself. First, launch the game, and then click Skins in the navigation bar. This screen displays all skins you currently have added to the game, as well as the currently equipped skin. If your current skin is not in the library, you can click Add to Library to make add it to the list of skins available to you. If you want to add a skin from your downloads folder, click New skin. Give the skin a name and choose whether it fits the Classic or Slim player models. After this, click Browse and navigate to the folder where the skin is. Select the skin and click Okay, and then click Save to store it in your library, or click Save & Use to store it in the library and equip it to your character. Hover your cursor over any skin in your library and click Use to equip it to your character. Changing your skin will make no difference to your gameplay–it’s purely a cosmetic choice.
How to Change Minecraft Skins on Mobile
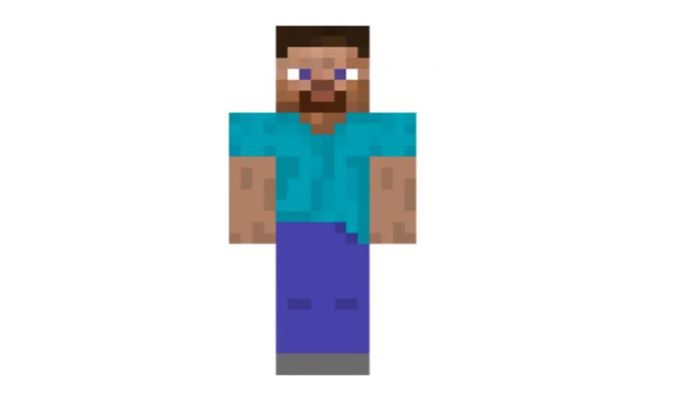
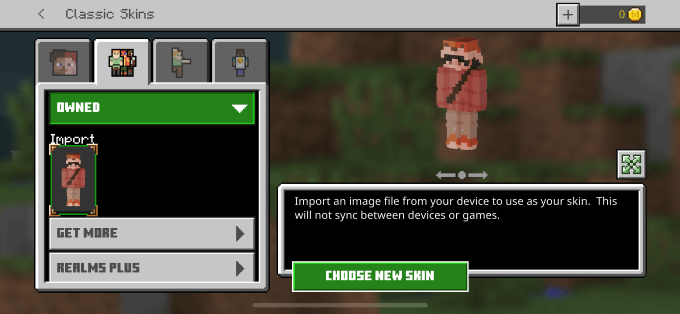
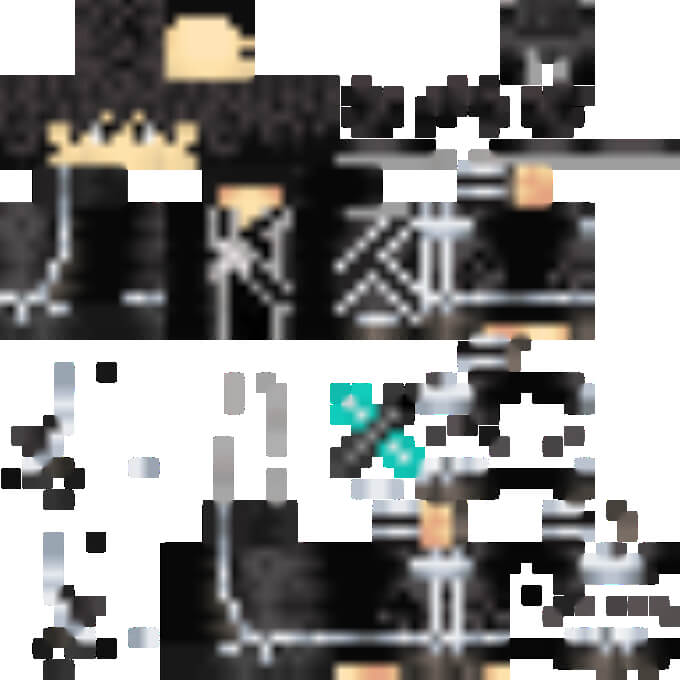
Changing skins on Minecraft mobile is a bit different than doing it on PC–but the good news is that it’s still pretty easy. First, open Minecraft and tap Profile. Select a character icon and tap Edit Character, and then select the second icon from the left–the one that looks like three characters standing together. Tap Owned, and then tap the icon underneath Import. After this, tap Choose New Skin. This opens your photo library on your phone. If you have downloaded a skin, select it from the library. If you have not yet found a skin, go online and look for one, then save it to your photos. Make sure the saved image is the one that looks rather distorted like this: You have to use the right type of image or the game will not recognize it as a skin. Once you choose the image, the game will prompt you to approve its appearance. Once you do so, the skin will be added to your game. You can then choose the skin and begin playing the game. Your Minecraft skin is an easy way to represent your personality in-game. Whether you’re playing on a creative server with friends or you just want to duke it out in the battle mode, don’t stick with the plain Steve or Alex skin. Choose one that fits you, whether it’s Bigfoot or your favorite anime character.
