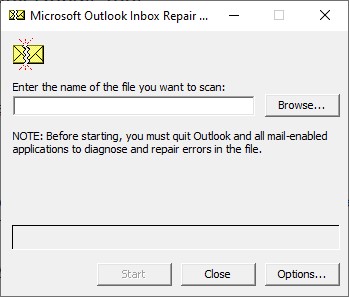
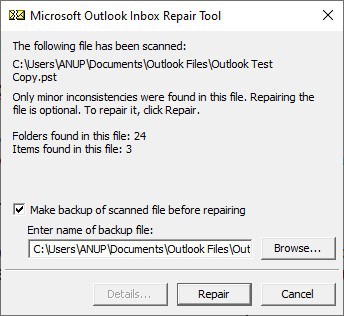
The Inbox Repair Tool (Scanpst.exe) scans the Outlook data files on your PC and repairs any errors. This tutorial will show you how to repair your Outlook PST file using the Inbox Repair Tool.
Locate the Inbox Repair Tool
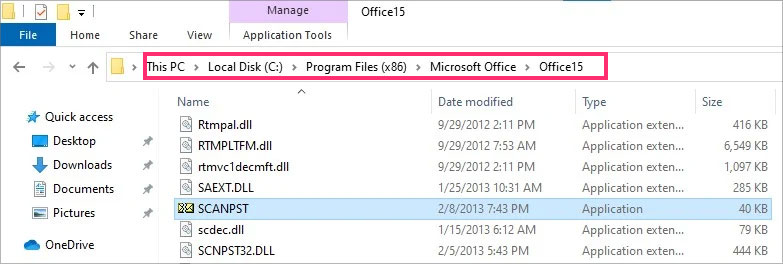
Exit Outlook and browse the location from the list below according to your Outlook version. If you don’t see your Outlook version on the list, you can find a detailed list on the Microsoft Troubleshoot Page.
Use the Inbox Repair Tool
Recover Repaired Items to a New .pst File
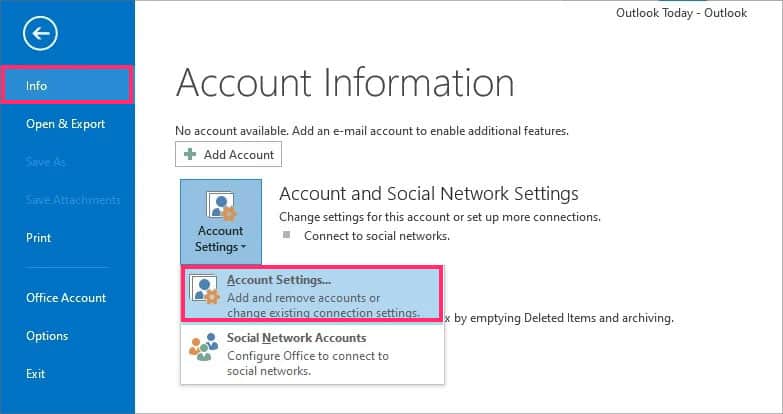
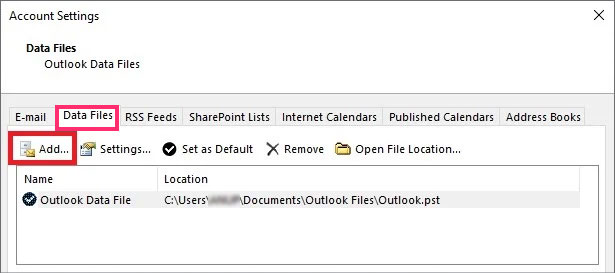
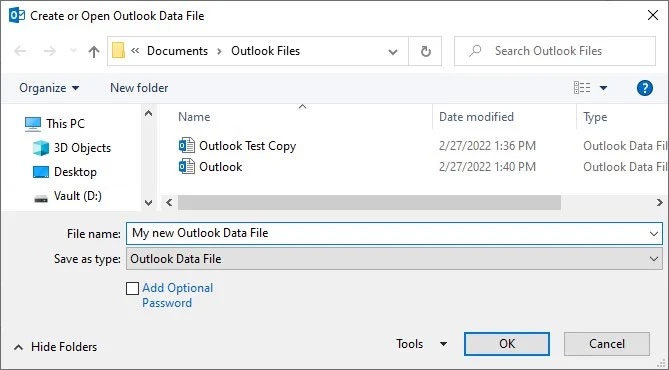
Next, you’ll create a new Personal Folder (.pst) file for your profile and move the recovered items there. The listed steps are for Outlook 2010 and later. For older versions, the steps may differ slightly. You can find detailed instructions for older versions on the Outlook Troubleshoot page.
Sometimes you’ll need to run the Inbox Repair Tool multiple times if the problem isn’t fixed on the first try. In some cases, the Inbox Repair Tool won’t be able to fix the problem, even after multiple tries. This happens if your PST file is too corrupted to repair.
First, turn on Folder List View by pressing CTRL+6. Press the arrows highlighted in the image above to expand the folder pane if necessary. The Lost and Found folder will contain the recovered data. Now, to create a new Personal Folders (.pst) file,
